Tektronix 2246 Battery Replacement
This document describes how to replace the two batteries in a Tektronix 2246 oscilloscope. It likely also works for different models from the same manufacturer. The replacement is fairly easy. No soldering and no proprietary tools are required.
Note: Oscilloscope will be abbreviated as CRO from here on (Cathode Ray Oscilloscope)
Tools
Required tools:
- A torx size 15 screwdriver
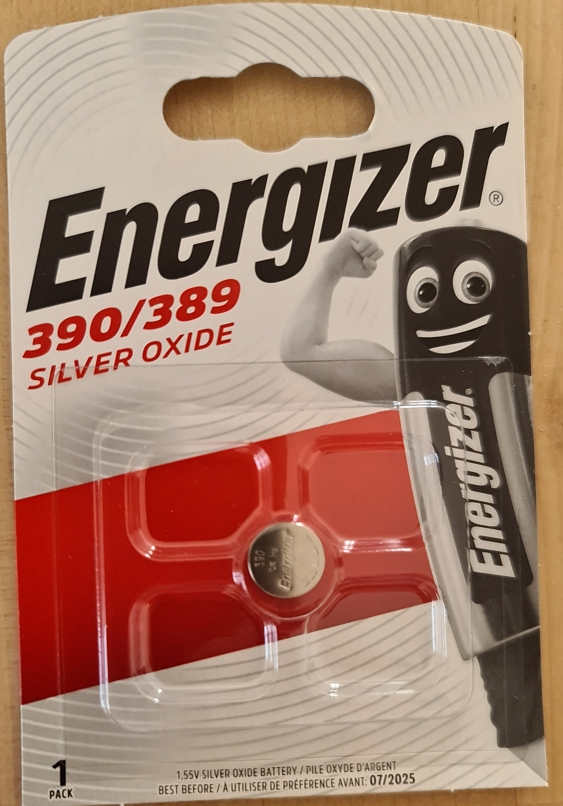
- Two 390 button cell batteries (the type label is often combined with 389)
Optional tools:
- A flathead screwdriver and a small hammer to dislodge stuck batteries
- A towel or piece of cardboard to slide and rotate the CRO around easily without damaging the case.
⚠️⚡ CAUTION! ⚡⚠️
Devices with cathode ray tubes (CRT) may for extended time periods retain high voltages with the capability to deliver high current. Touching charged components can deliver a potentially deadly electric shock. Avoid touching any component that's close to the power supply in the back, or the CRT on the right side (if viewed from the back). Tubes are normally discharged with a resistor that's added for exactly this purpose, but if the discharge resistor is broken or absent, a potentially lethal voltage will remain on the tube.
Once the device is open, only touch it at the external metal frame if you need to move or rotate it.
Touching the circuit board and battery is safe. Replacing the battery is not dangerous by itself, but if you feel uncomfortable doing it, bring the device to the next electronic repair center instead.
Preparation
- Unplug the CRO and turn it on to discharge the power supply.
- If you have an attached bag, remove all items from it.
- Remove any rubber caps on ports in the back that may prevent you from removing the back panel.
- Turn the CRO off again and attach the front protecting panel.
- Place the CRO face down on the towel/cardboard.
Note: if you don't have the protective panel anymore you have to dismantle the device while it's flat on the table instead. This is more annoying but otherwise not problematic. Do not try to cheat and pull it out using the front panel. It may break
Unscrew
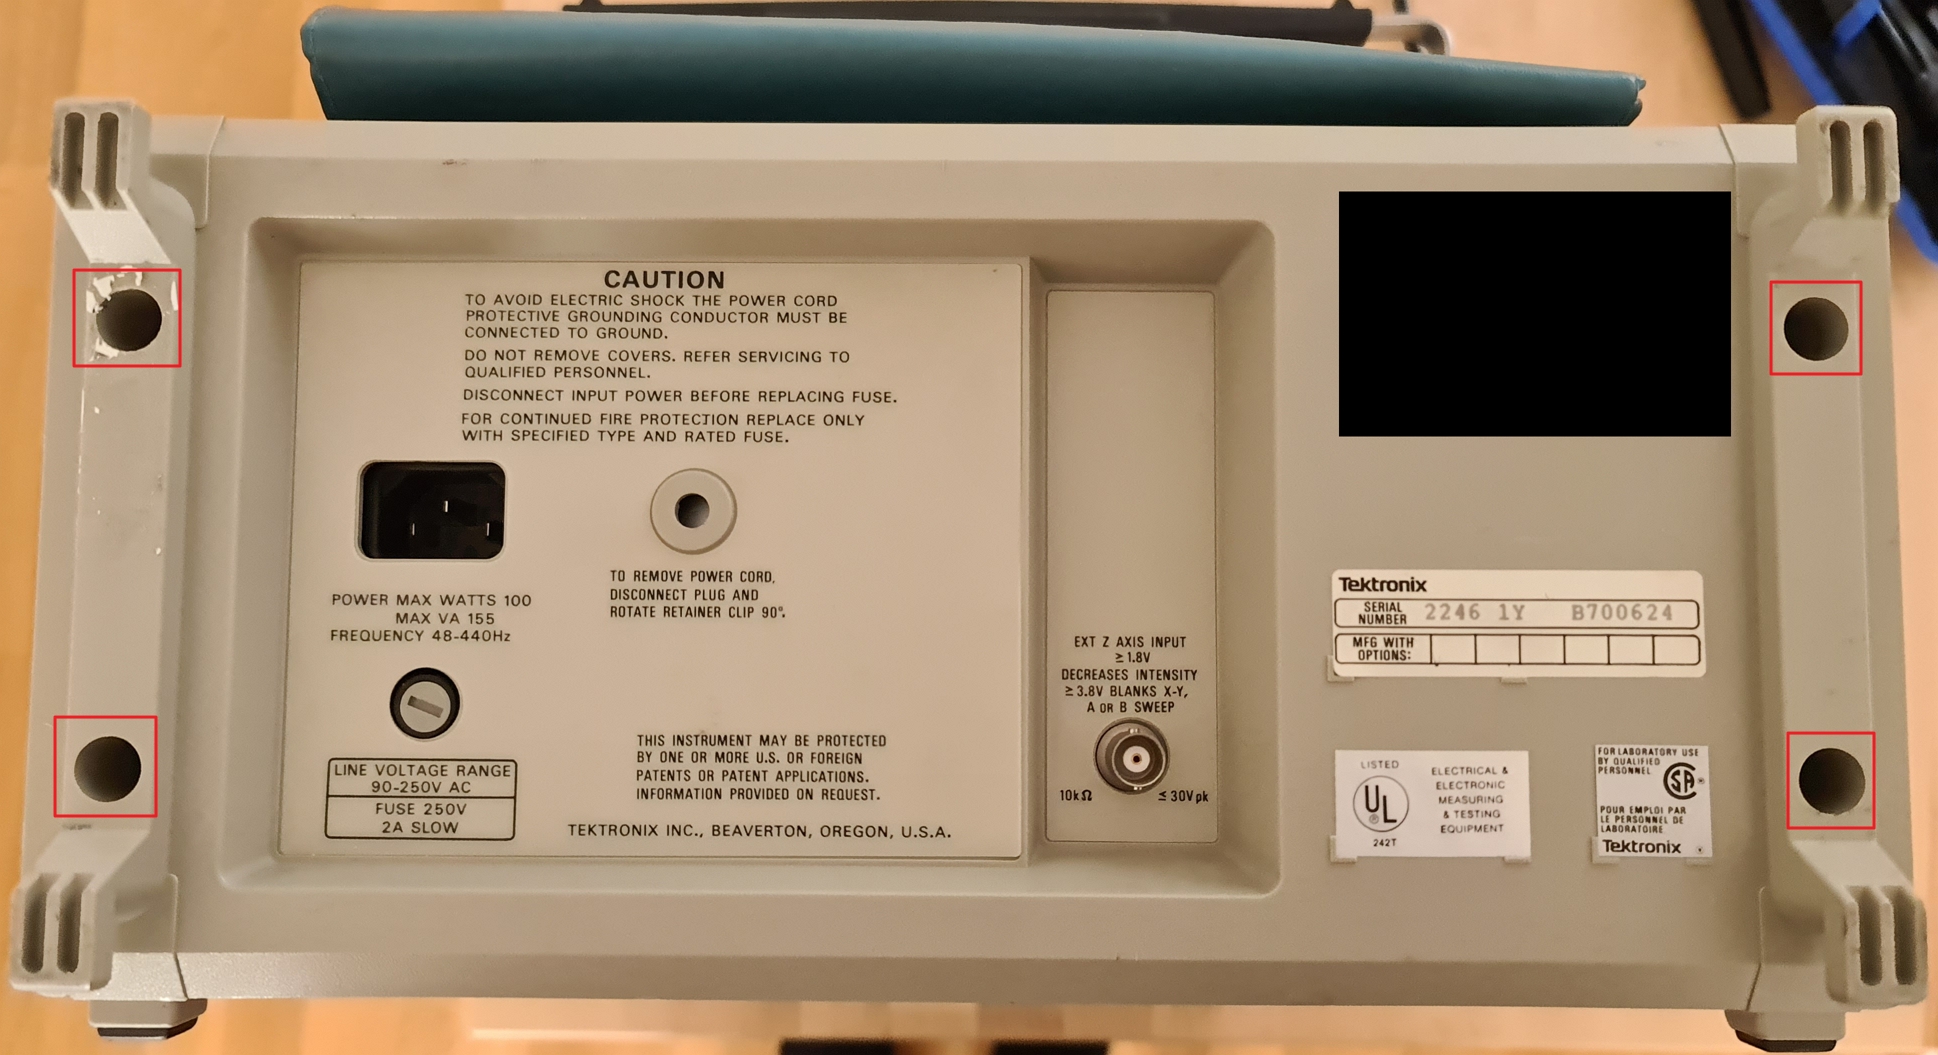
- Remove the 4 screws on the back panel
- Lift off the back panel
- Dump out the 4 screws and put them inside of the panel to not lose them. The screws are identical.
- If you have a bag, pull out the acessory bag now
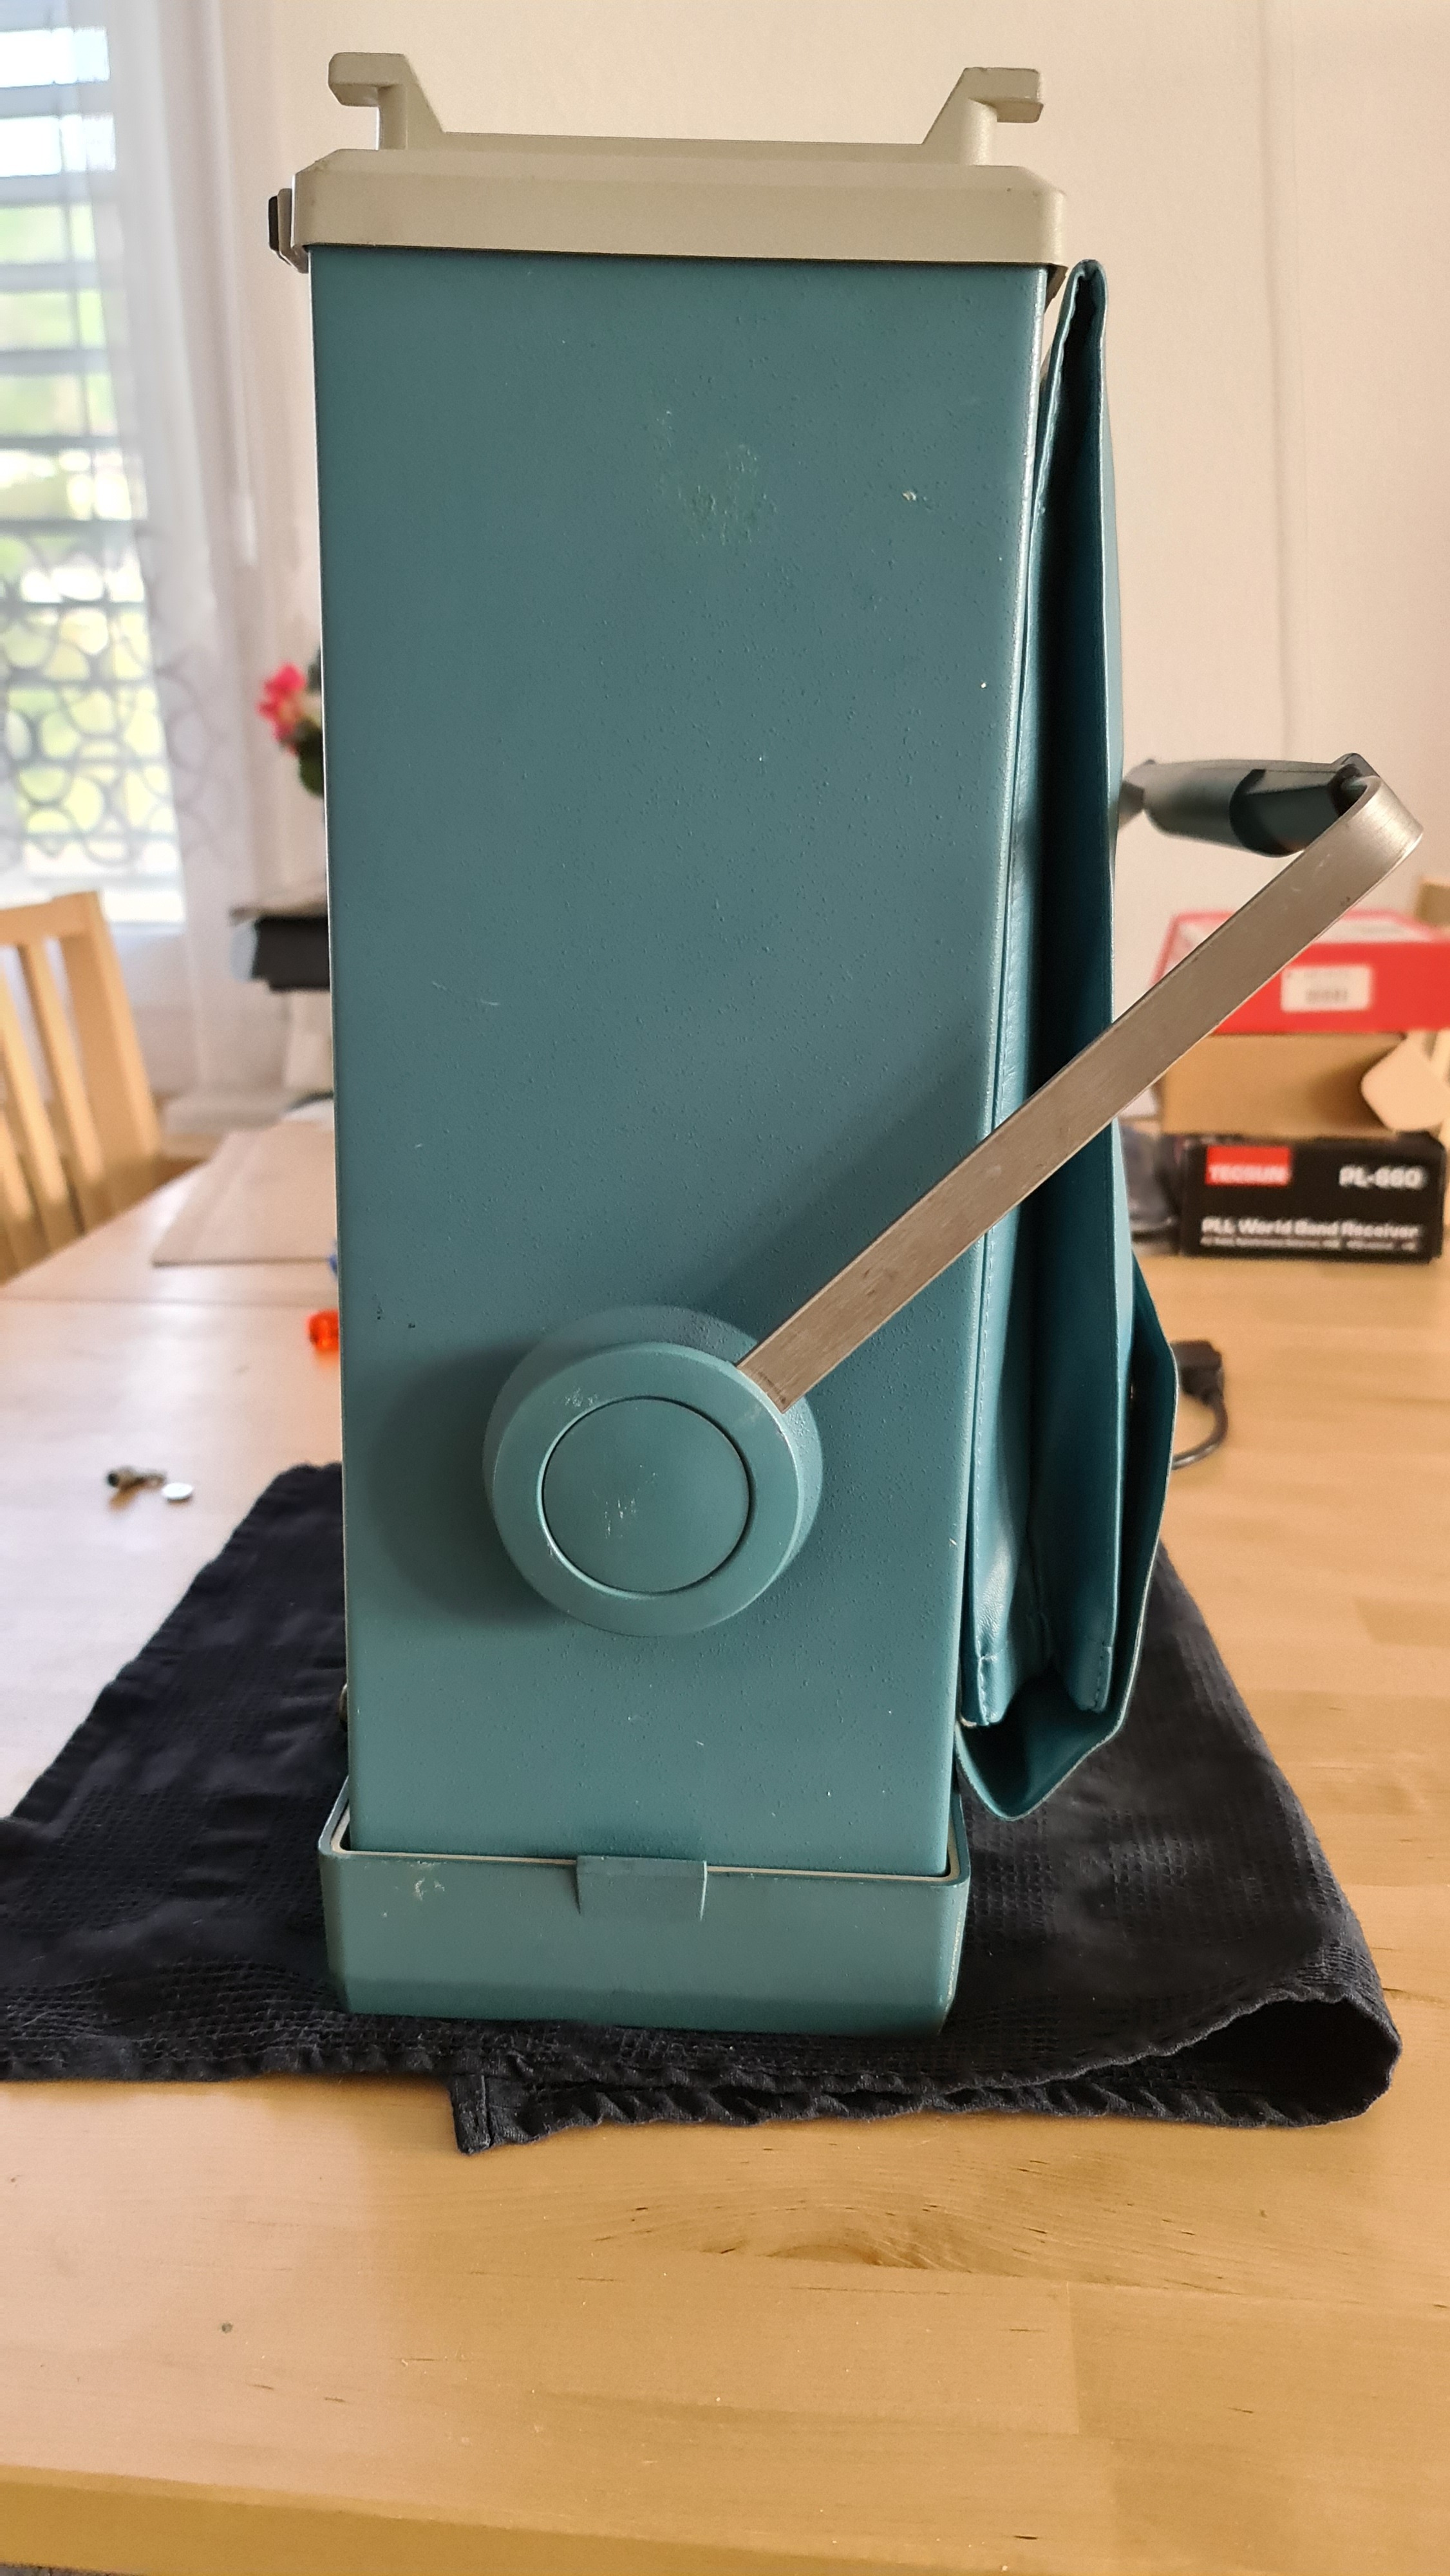
- One side of the case has a screw next to where the handle is attached. Unscrew this screw. Note that it's different from the back panel screws so don't mix them up.
Battery replacement
Using the two knobs that hold the large handle, carefully slide the case upwards to expose the inards.
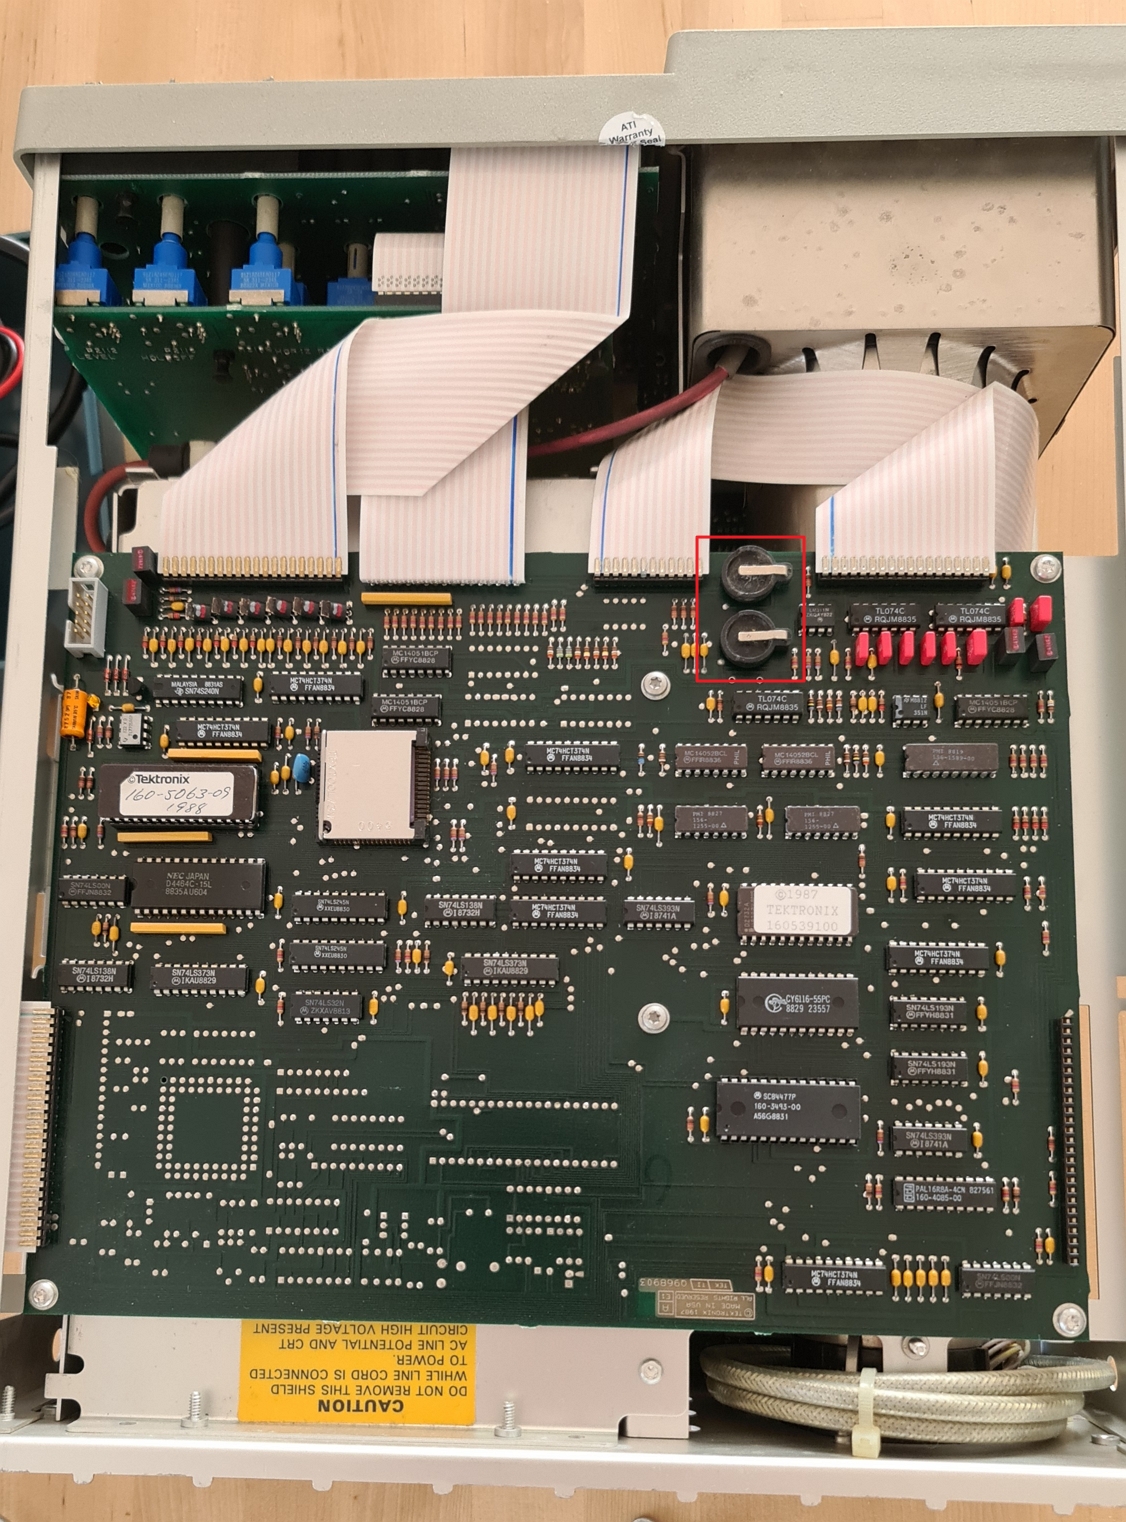
The case should come off cleanly because nothing is attached to it. Carefully lay the CRO down so the top side is exposed now. You should see two black battery holders (see marking on image).
The batteries should slide out with mild force. The rim of the holder is recessed on one side to allow this.
If the batteries are corroded or otherwise stuck, point the flathead against the battery and lightly tap it with a hammer to carefully dislodge it. Corrosion is not flexible at all, even a small movement of the battery likely breaks it loose completely. Do not apply to much force or the battery holder may break.
If you see corrosion you can either try to scrape it off with the screwdriver in mild cases, or use a mild acid like vinegar and a cotton swab to clean it off.
Once cleaned, insert the batteries with the plus side facing towards you.
Reassembly
To reassemble the CRO, place it face down on the towel again, then slide the case over the device. Make sure the case is rotated correctly. You want the plastic feet to be on the underside and the handle attachment points closer to the front than back.
When this is done, insert the bag holder again if you have one. The plate should be even with the end of the case. If it's not, slide it sideways to center it. The bag attachment has two slits on either end that drop into the plastic end pieces.
Once done, attach the plastic backplate again and put the screws in again. Finally, screw in the one screw from the case
Calibration
When you turn the device on for the first time it will complain about faulty calibration values and perform a self calibration. Just follow the instructions on screen.
Tip: After calibration, turn it off, unplug, wait for a few hours, and turn it back on again to verify that the battery replacement was successful and calibration data is retained.
If calibration is not retained it can be (but is not necessary) due to any of these reasons:
- Battery inserted the wrong way (Fix:
+must face you when inserted) - The battery corroded the terminals of the battery holder too much (Fix: Clean again)
- Faulty solder joint on the battery holder (Fix: Remove PCB and resolder battery holders)
- Faulty memory (Fix: Sell it on eBay, get new one)
Configuration
The CRO has lost all settings and will be in a "random" state when you take out the batteries. Don't forget to configure it again to your liking and to avoid confusion the next time you want to use it. Notably:
- Turning on the peak to peak measurement values
- Turning off all unused channels
- Setting it to channel A mode (or X/Y mode if you need that more often)
- Selecting channel A for trigger hold and configure trigger mode
- Adjusting time and voltage ranges to sensible values (use the test point on the front panel)
Final Steps
I recommend you print a label with Battery Replaced and a year.
Attach it to the underside of the case or the back panel.
In 10 years, replace the batteries again.
Copyright © 2022 by Kevin Gut 📧 | More services | Generated for 216.73.217.113